Creating hassle-free and markdown-based blog with Jekyll
I’ve heard Jekyll for a really long time but ended up never tried it, until now!
It just happened that I need some kind of place where I can put/share all I have in my mind on a custom platform that are reliable, simple, customizable enough, with my own domain, and preferably free without any subscription commitment.
After some reading, I thought hosting Jekyll-based site on a GitHub Page checks all my requirements. This post documents all my hiccups for setting up this site, so you don’t have to!
Expect small amount of time investment reading the official documentation of GitHub Pages, Jekyll, and some SO-ing. Especially if you are like me who never touched ruby nor jekyll before.
The super-cool thing about this stack is that, after a minimal setup on _config.yml and some optional theme
overriding to your need, you ended up with a framework that accepts pure markdown-formatted plain text,
ready to keep all of your future writing with style without any html coding involved!
After that and so on, creating a new post is as simple as pushing a new markdown file and Jekyll will automatically decorate the content according to the applied theme. Again, no html involved! ❤️
Getting Started
Creating the repo
You need to create a public repository with exact name format: <GITHUB_USERNAME>.github.io,
just like the URL of this site.
The site will notice and automatically set some configuration for you.
When you later reach the step to deploy the site, you will notice that GitHub seems to understand that you are filling the repo with Jekyll-formatted source code and automatically decides to builds and deploys it accordingly without any further tweaking needed with GitHub Actions.
Installing the prerequisite and initializing empty Jekyll site
At the moment of this writing, GitHub and Jekyll documentation seems to lack some of the trivial steps to properly install the requirements and initialize the Jekyll site (or maybe I’m just the one that missed it, currently I leaned towards the latter). I followed both of them and ended up being thrown by version mismatch error when adding Jekyll globally to my local machine.
So, this is how I got all of this working :
- Install Ruby, RubyGems, and
bundlergem- This is the official page for installing Ruby and RubyGems.
- Since I’m using Ubuntu, I followed this Ubuntu Installation link specifically,
with some note:
-
When setting the RubyGem path, I opted for
~/.gemsinstead of the suggested~/gems. This is highly opinionated, but IMO this is much cleaner and properly merges with style from other stacks such as.docker,.git, etc.
IMO should be ~/.gemsinstead of~/gems -
When adding gems, you only need to add
bundlerfor now, as addingjekyllnow seems to result in version mismatch error, or at least what has happened to me.The correct command for me would be:
gem install bundler.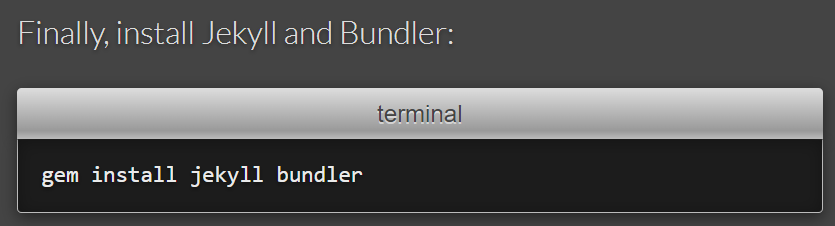
No need to install jekyllhere
-
- On your root repository, initialize the project by running:
bundle init.- If you came from Python environment, this can be identically compared (by overly simplifying) as creating a new
venvwith emptyrequirements.txt, where theGemfilewould contains all the required dependencies, or gems. -
Confirm that it creates a
Gemfilefile inside your repo: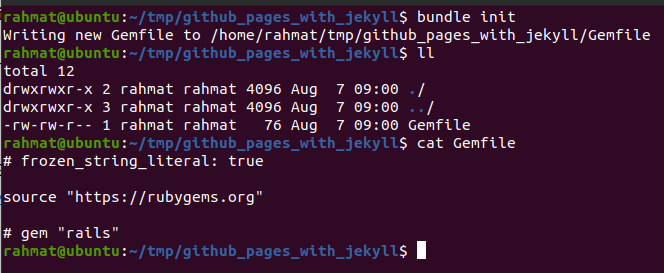
Gemfileis just like python’srequirements.txt
- If you came from Python environment, this can be identically compared (by overly simplifying) as creating a new
- Add
jekyllgem by runningbundle add jekyll.-
Notice that
jekyllis being added insideGemfile
Notice that jekyllis being added insideGemfile -
A
Gemfile.lockwould also automatically be added. Don’t forget to include it on commit!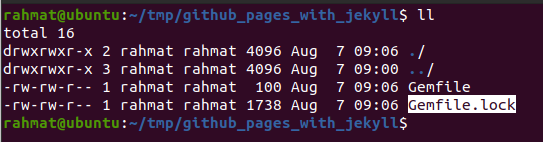
IMO this is just the same as Pipfile.lockorpackage-lock.json
-
- Initialize empty Jekyll site with:
bundle exec jekyll new --force --skip-bundle .(don’t forget the trailing dot!).--forceforces creation even if given path already exists--skip-bundleskips ‘bundle install’, as we need some tweaking before actually install all the dependencies

Notice that fresh Jekyll site is being set up for you -
Now if we peek inside our
Gemfile, there will be plenty of contents inside it. Surprisingly there is an explicit instruction on how to use jekyll with GitHub Pages:
The default Gemfile seems to indicate as if majority of people only install jekyll for GH Pages - First, we disable the jekyll dependency by adding a hash as a form of comment.
- so
gem "jekyll", "~> 4.3.2" - will become
#gem "jekyll", "~> 4.3.2"
- so
-
Open GitHub Pages Dependency Versions, look for
github-pagesand take a note on the version.
As of this writing, the version was 228. - Add this line somewhere inside the
Gemfile:gem "github-pages", "~> 228", group: :jekyll_plugins- (I strongly guess the order doesn’t really matter, but probably should be placed some line below the
jekylldependency for readability purpose)
-
The edited
Gemfilewould look similarly like this
Don’t forget to change the 228to the newest available version you have on your time.
- First, we disable the jekyll dependency by adding a hash as a form of comment.
-
Since we skipped the bundle installation before, now is the good time to install all the dependencies, so run
bundle install.
2 days trying ruby & bundler environment and I’m starting to like it already 🤓 -
All the required dependencies should be installed. Now you can run your jekyll site locally with
bundle exec jekyll serve.
Notice that by default it will serve on port 4000 of your localhost.
You can opt to change the port number. -
Open your browser and the development site should be in
http://127.0.0.1:4000by default.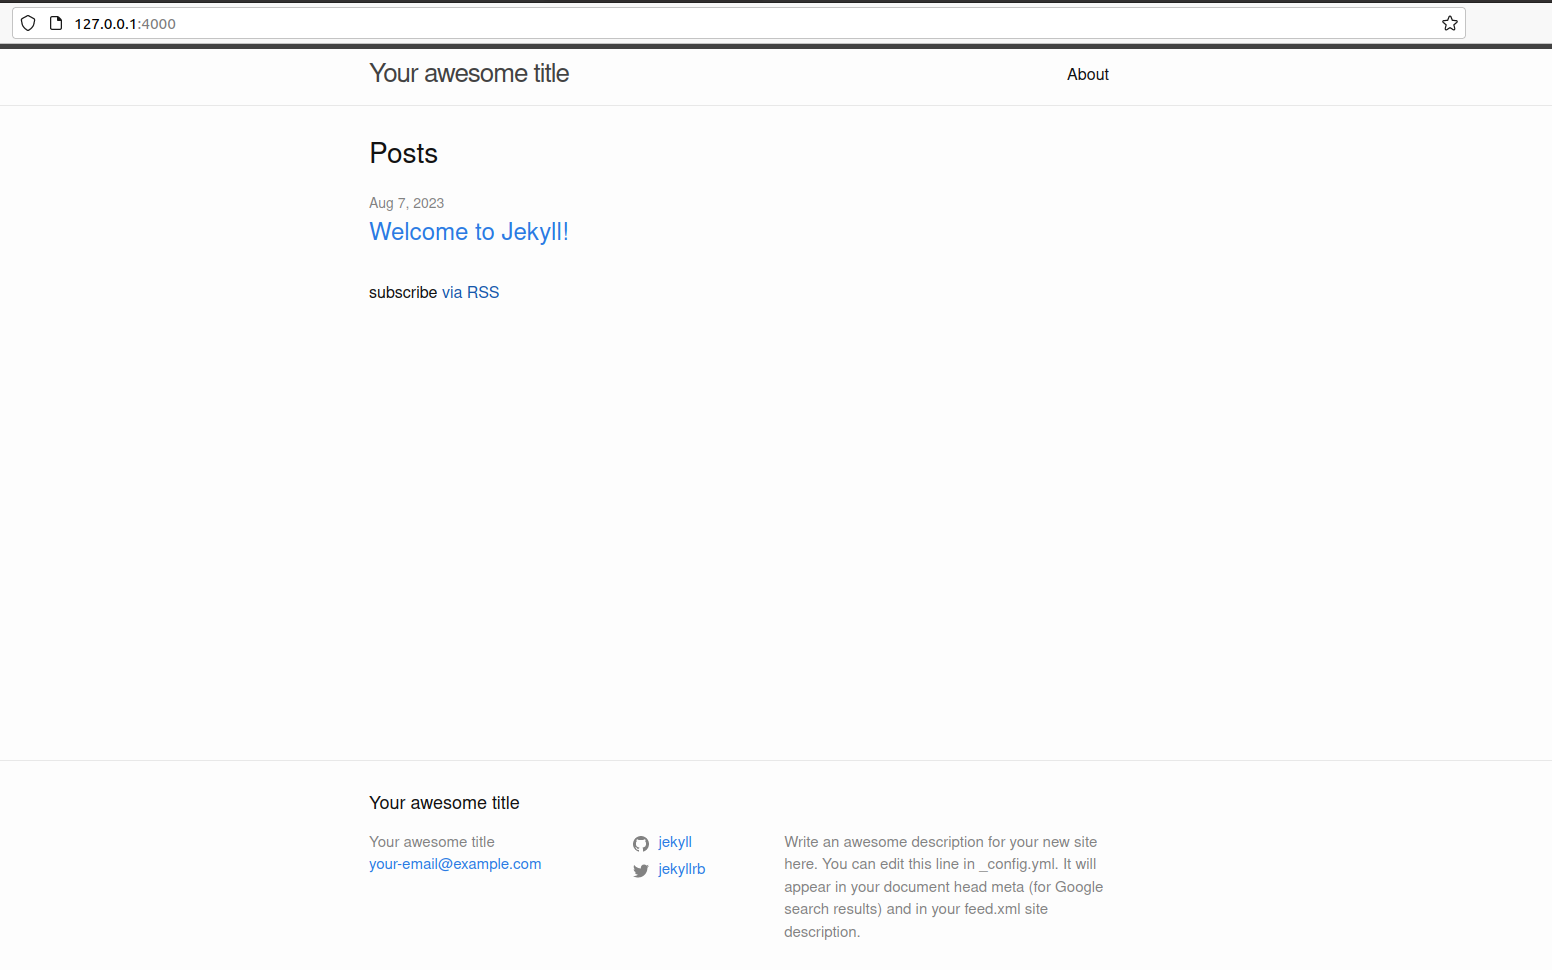
This is how your freshly installed jekyll (with github-pagesdependency) will look like
Here you successfully create a fresh installation of a Jekyll site that will be supported by GitHub Pages.
You can actually deploy it right away, but you may want to configure something in this same development session.
Configuring the site
Choose your template
The default installation uses minima and I found it to be super okay for my needs.
You can find list of available free theme. Know that each theme has its own way to set or configure, so be sure to read the official documentation of theme that you picked.
You may want to also know that there are plenty of paid jekyll theme, and you can always opt for it. But I think going that way defies the purpose of simple & free aspect in the first place.
On a quick search, I found a free theme that probably suits you best as an alternative to the already available theme. Check this out: al-folio.
Update the _config.yml
All Jekyll ste settings is found inside _config.yml and you may want to configure it to your need.
Important: Jekyll serve supports auto-reloading by default to ease your development session.
But any change introduced inside _config.yml will not be auto-reloaded, so always restart your development server
after each of the change you have done in this file (I found it the hard way 😭).
Optionally edit or override how the theme behaves
Jekyll uses Front Matter alongside Liquid for the template system. So this is basically just like Java’s Thymeleaf, Python’s Jinja, or Django’s DTL.
You can override anything by including the exact file you want to override inside the repo. For starter,
on this site,
I’ve overridden footer.html by including a file with exact name with exact path according to the currently
used theme (which is minima-2.5.1).
Deploying the site
Assuming that your site is placed on the root of the repository, what you need to do is to only push the code to the repo!
GitHub seems to notice when you pushed a Jekyll-based site on your personal GitHub Pages repo,
and since the default configuration is to deploy from the /(root) directory of the main branch,
I managed to seamlessly deploy my site without configure anything.
There will be a default GitHub Actions that build the entire site and triggered on each push to the main branch.
Wait for the pipeline (took ~50s for me), and confirm that your site is up! 🥳🎉
So now you got free & nice looking site waiting to contain all your writings!
You don’t need to mess up with this whole configuration again, or maybe only once in a couple of months when you need some change in UI or behavior.
Your next step would be to read more about Post formatting and is outside the scope of this article.
And so this marks the end of the story on how to deploy the site you are currently reading right now.
I hope some people will find this useful!
References:
---
Want to discuss more about this topic? You can reply by email.